Growing up I spent alot of time on the Commodore 64 in the mid 80’s, and the Commodore Amiga 500 in the late 80’s.
Unfortunately I threw all of this hardware away when the PC took over and my Commodores stopped working.
I figured NOW is a good time to get back to the 80’s and see what it was like, see if can bring back some good memories.
30-40 years later of its hay-days I was very aware that this hardware might have some issues.
Ready for the challenge I aquired the following items:
- Commodore 64 Rev B (1983) Status:Mint condition, except no sound
- Amiga 500 Rev 5 (1988) Issues: Power LED blinking, screen showing green
- Amiga 500 Rev 5 (1989) Issues: Running some of its floppy sw, but many r/w errors and occationally red screen
- Amiga 500 Rev 6A (1991) Issues: Not running any of its floppy sw, r/w errors etc.
The Commodore 64
Started out with the C64, took it apart and cleaned up the motherboard and the keyboard. Simply washing keycaps.
The unit looks splendid and is in good condition, although a tad more brown than when new.
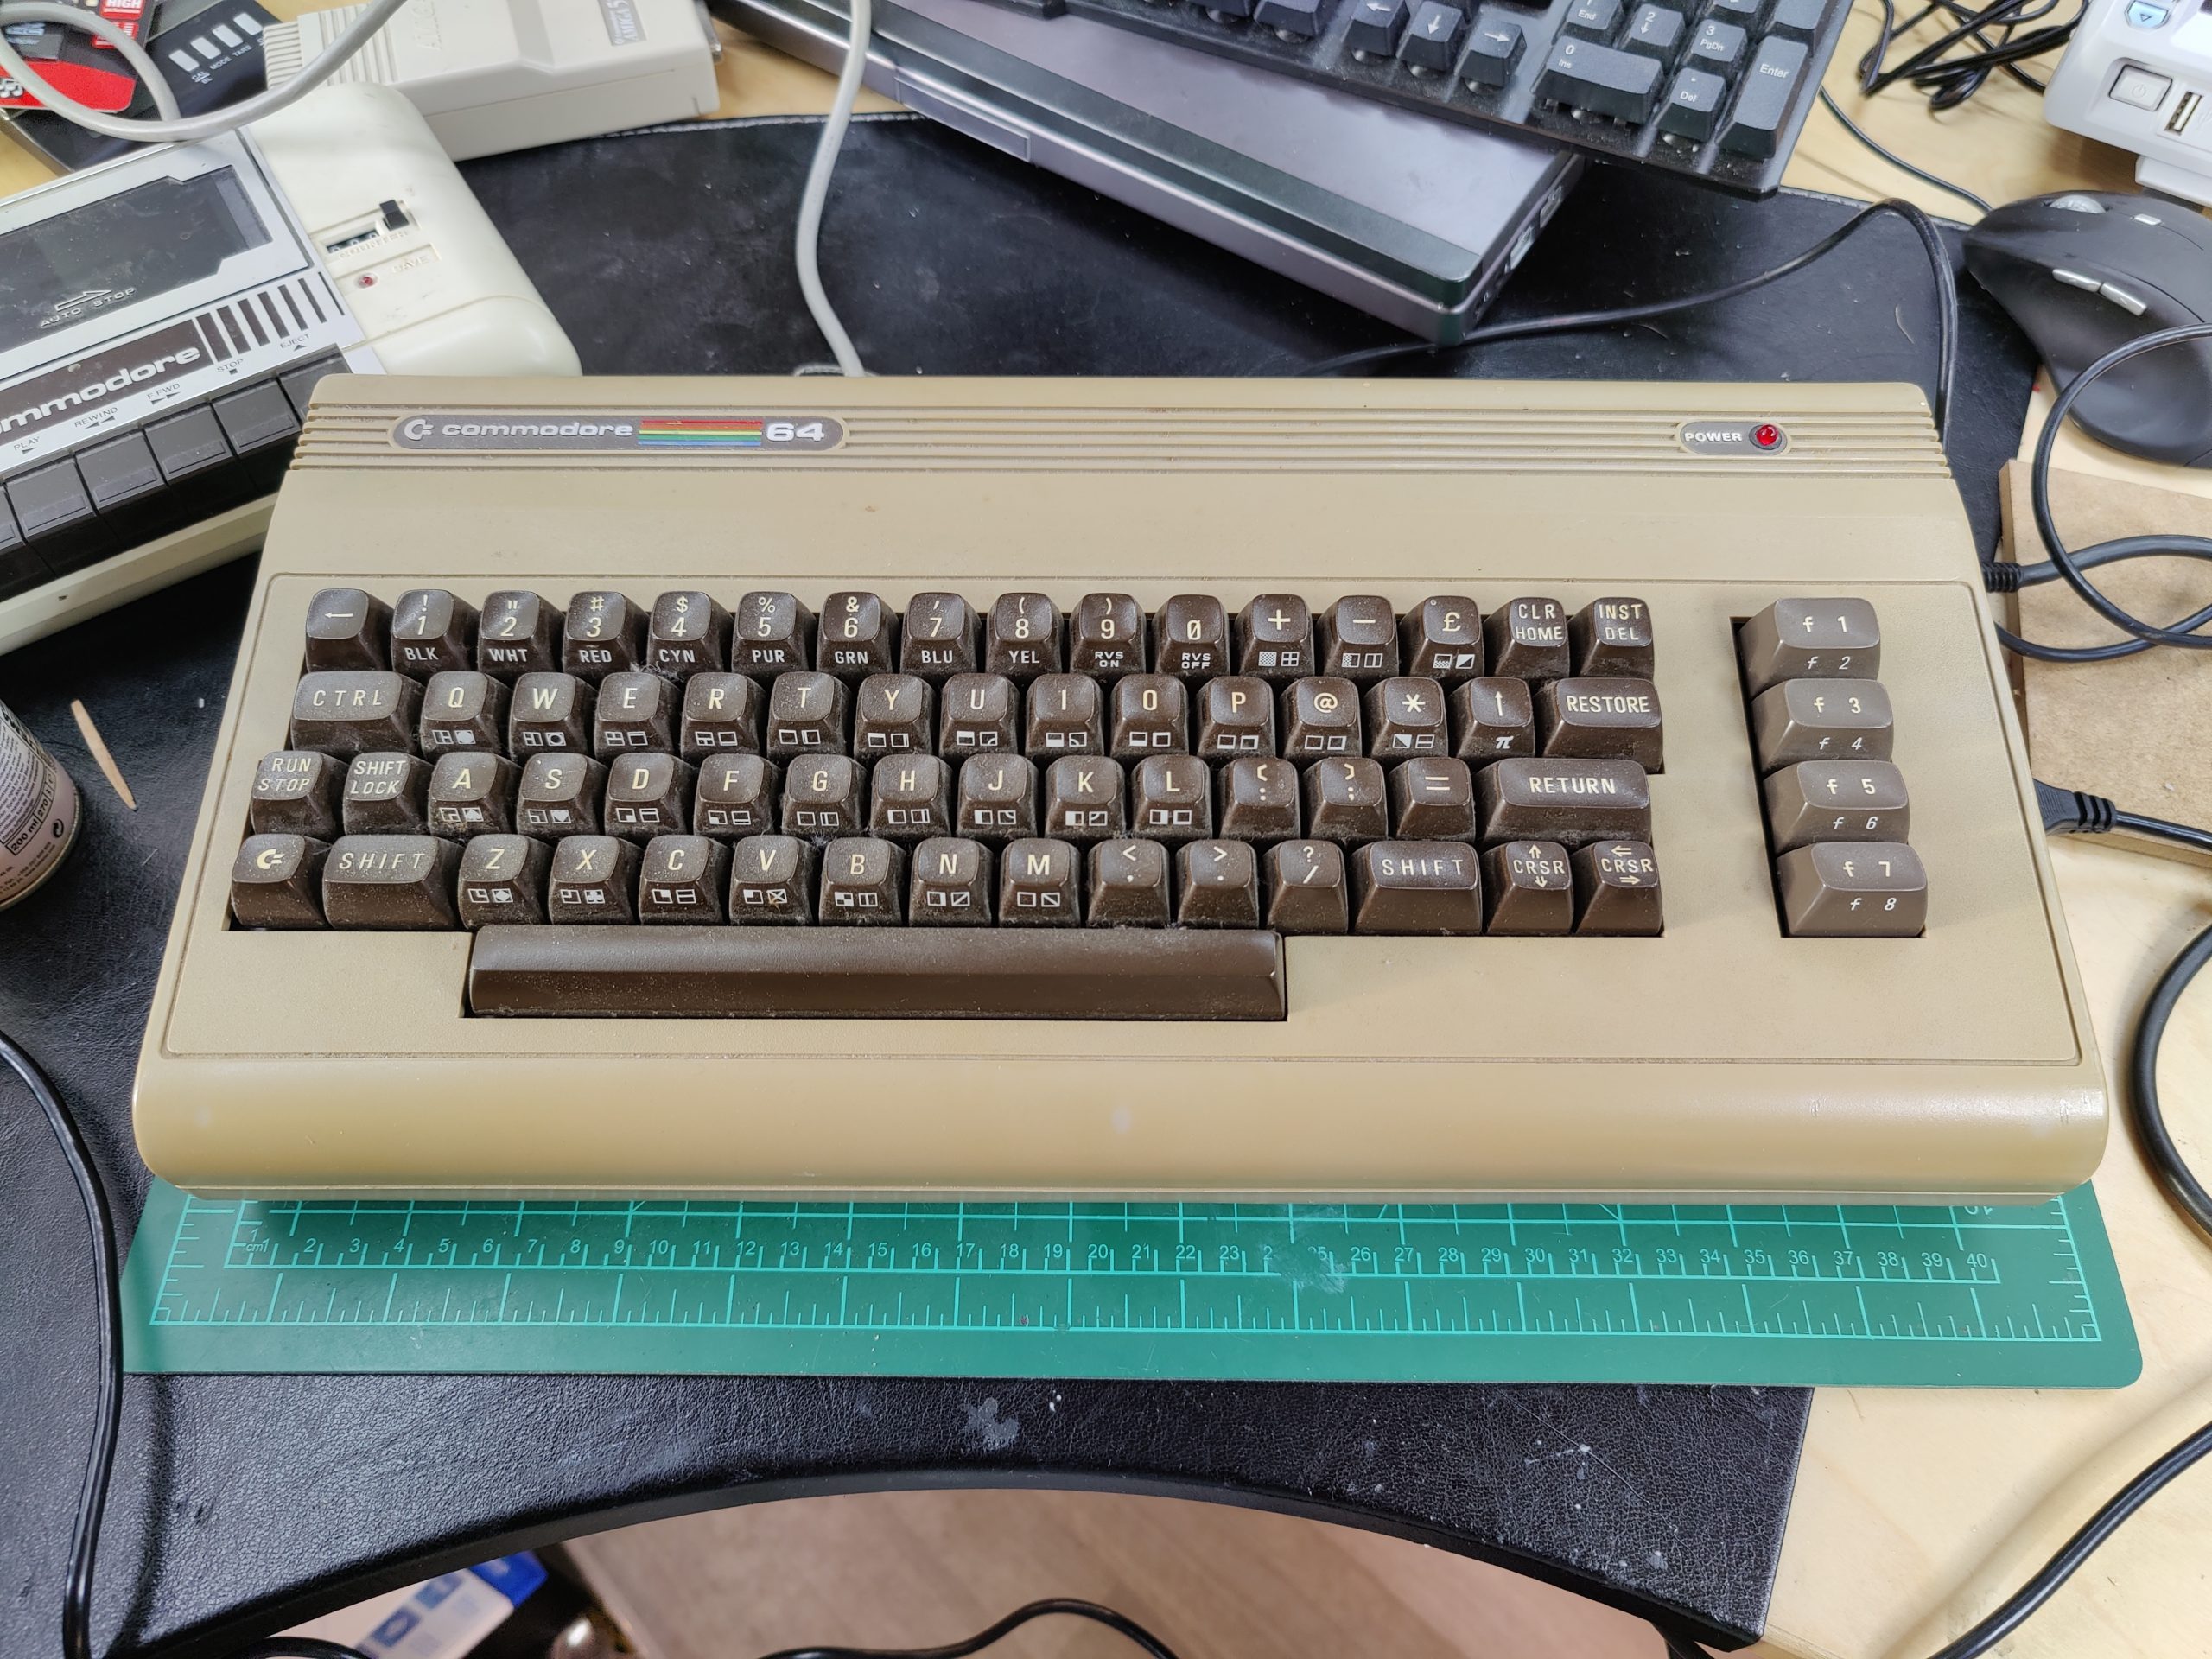
It seems to run prefect! I was really lucky with this unit, as the seller didn’t know anything about its status. However, it turned out that the sound chip was dead. This is called the Sid, a MOS 6581 chip. Available on the used market but quite expensive. So I opted for a newer variant, the ARMsid. Quick shipping and works great.
C64 mods
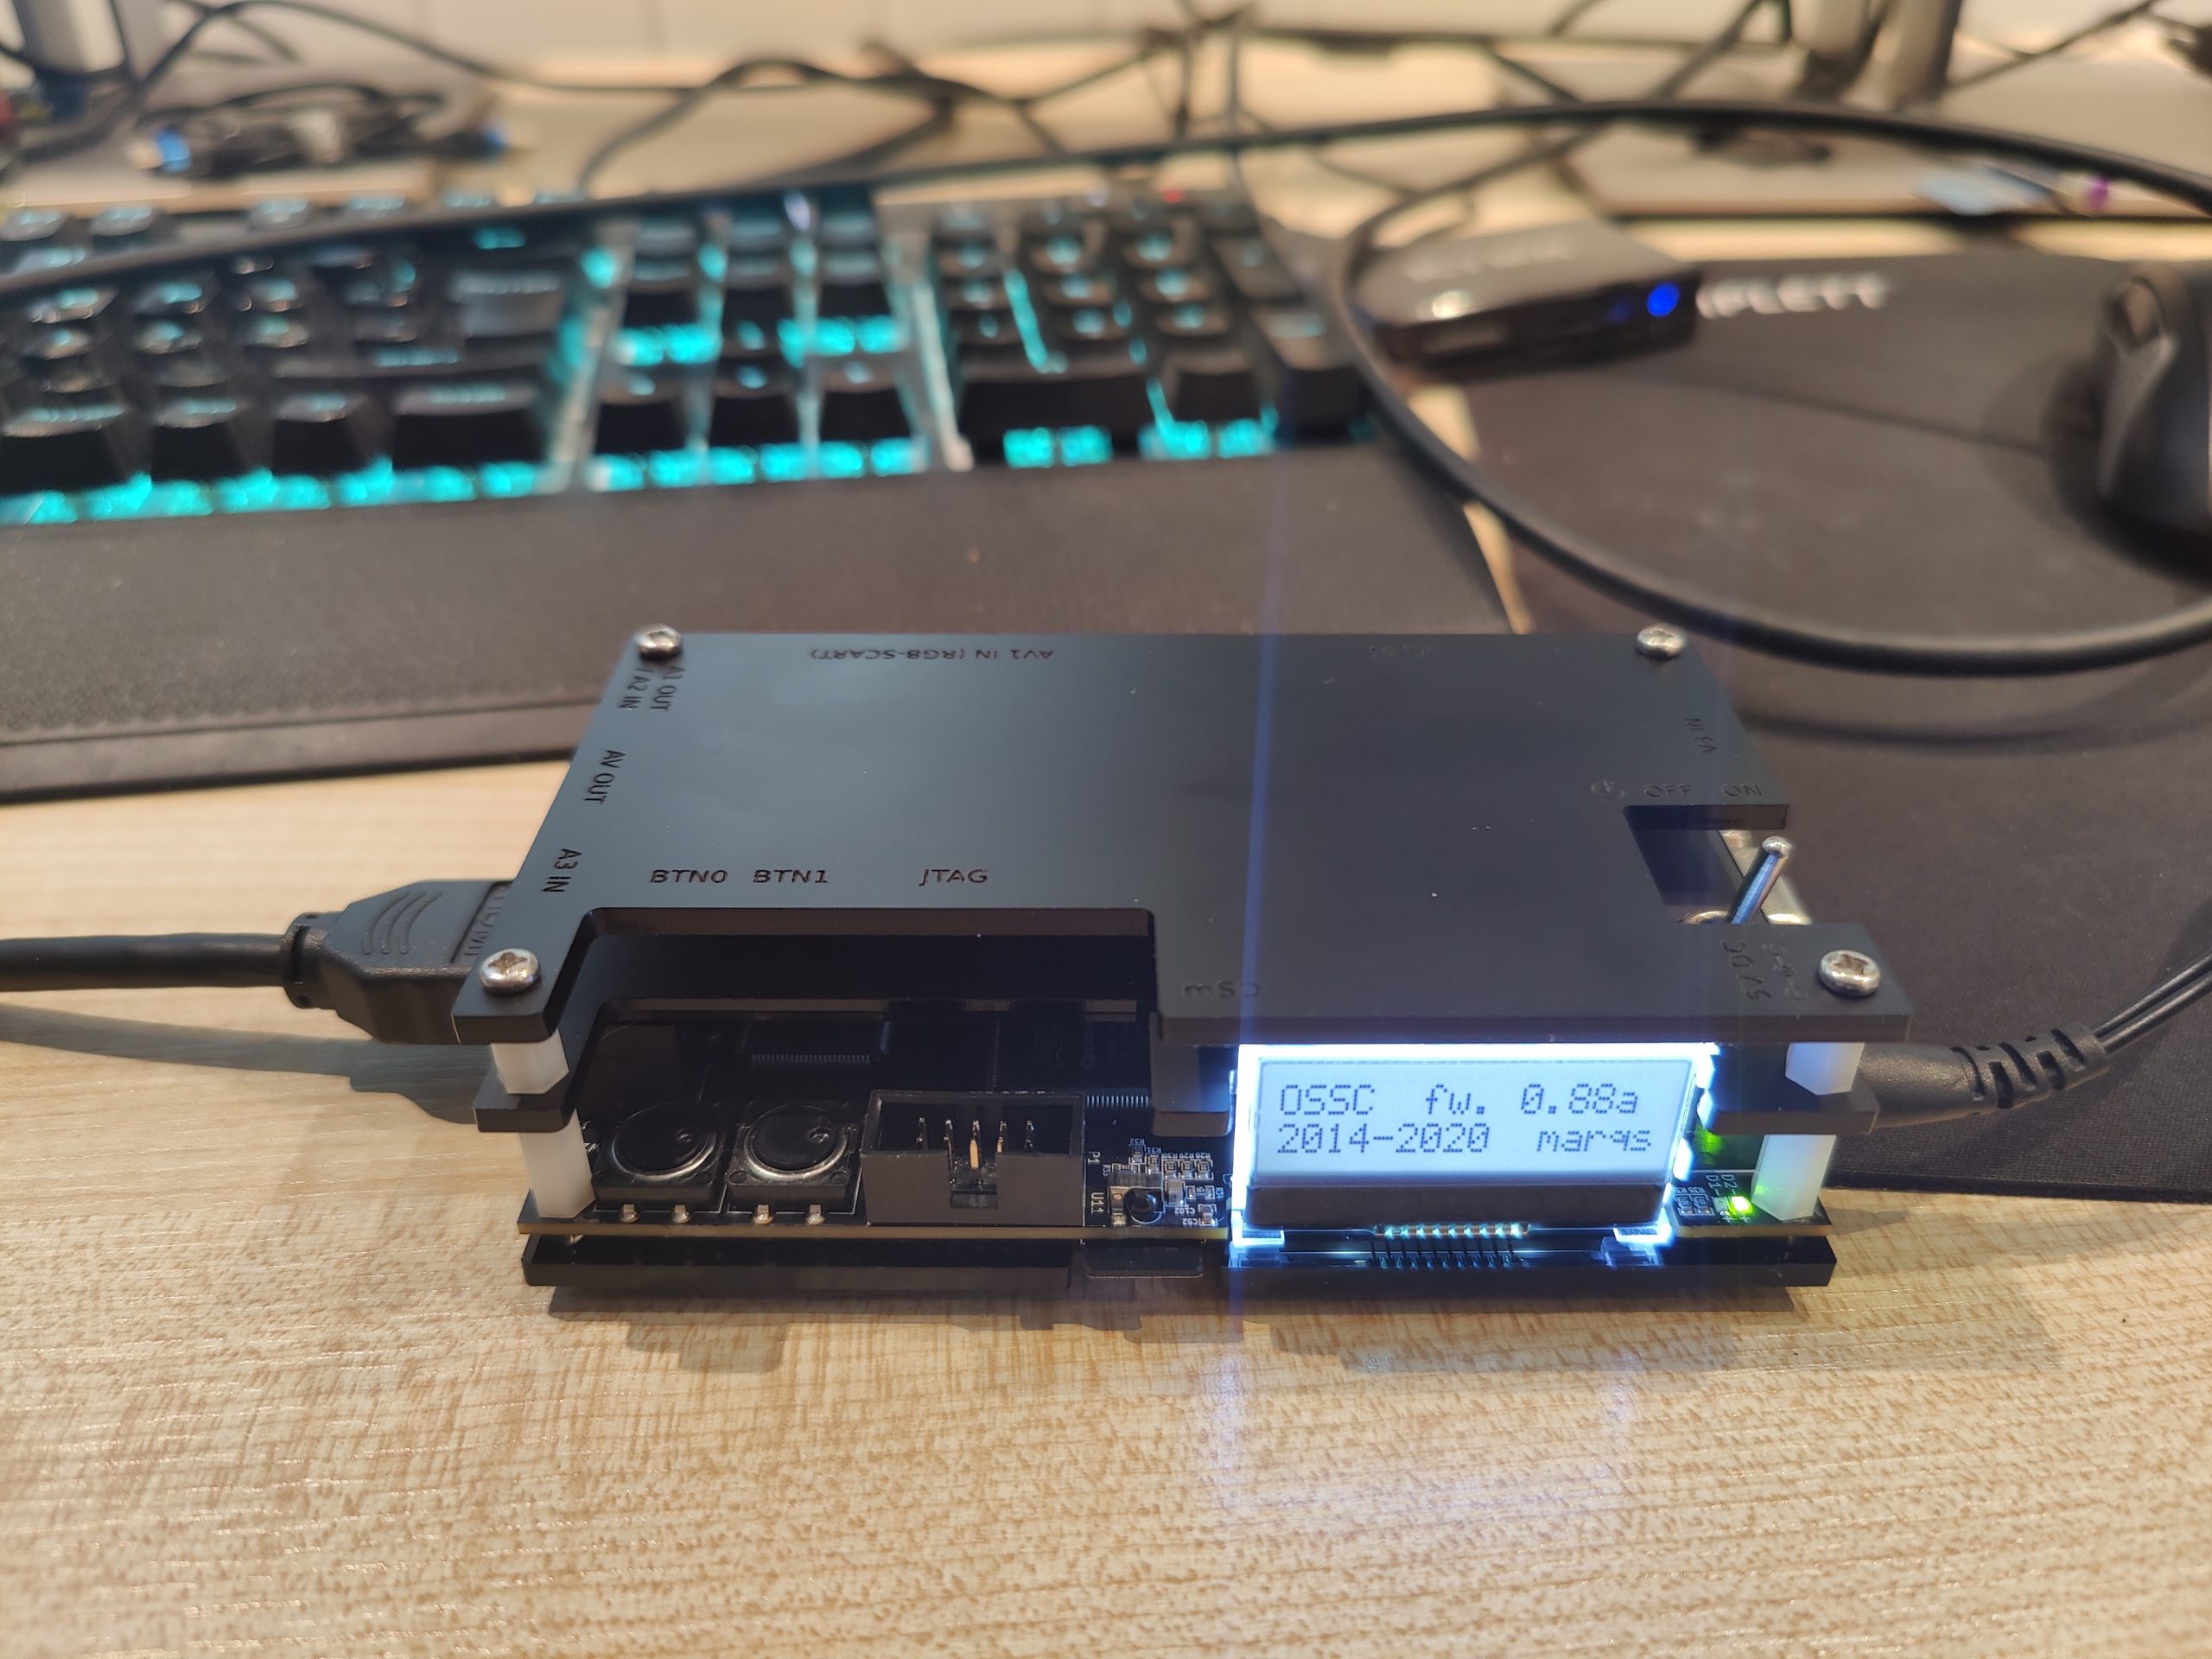
When it comes to video out, he C64 has only got RF and S-Video signals, which is fairly outdated and limiting so in order to use it on a new monitor I am planning to install a mod for RGB and then use an upscaler. Open Source Scan Converter(OSSC) seems to be a good alternative. Delivered by https://videogameperfection.com/
Further more I will use a SD2IEC mod to load software from SD card instead of the Datasette. One would need extreme patience and fingers crossed with the Datasette, and this part of the game is not really what I miss the most from the C64..


Another mod I think is a must on a C64 is The Final Cartridge. These were used for faster loading times back in the days, and giving the option to break any running program and peeking through the memory (crack the software..)
I went for a dyi TFCIII+ kit, hope this will be a fun project:

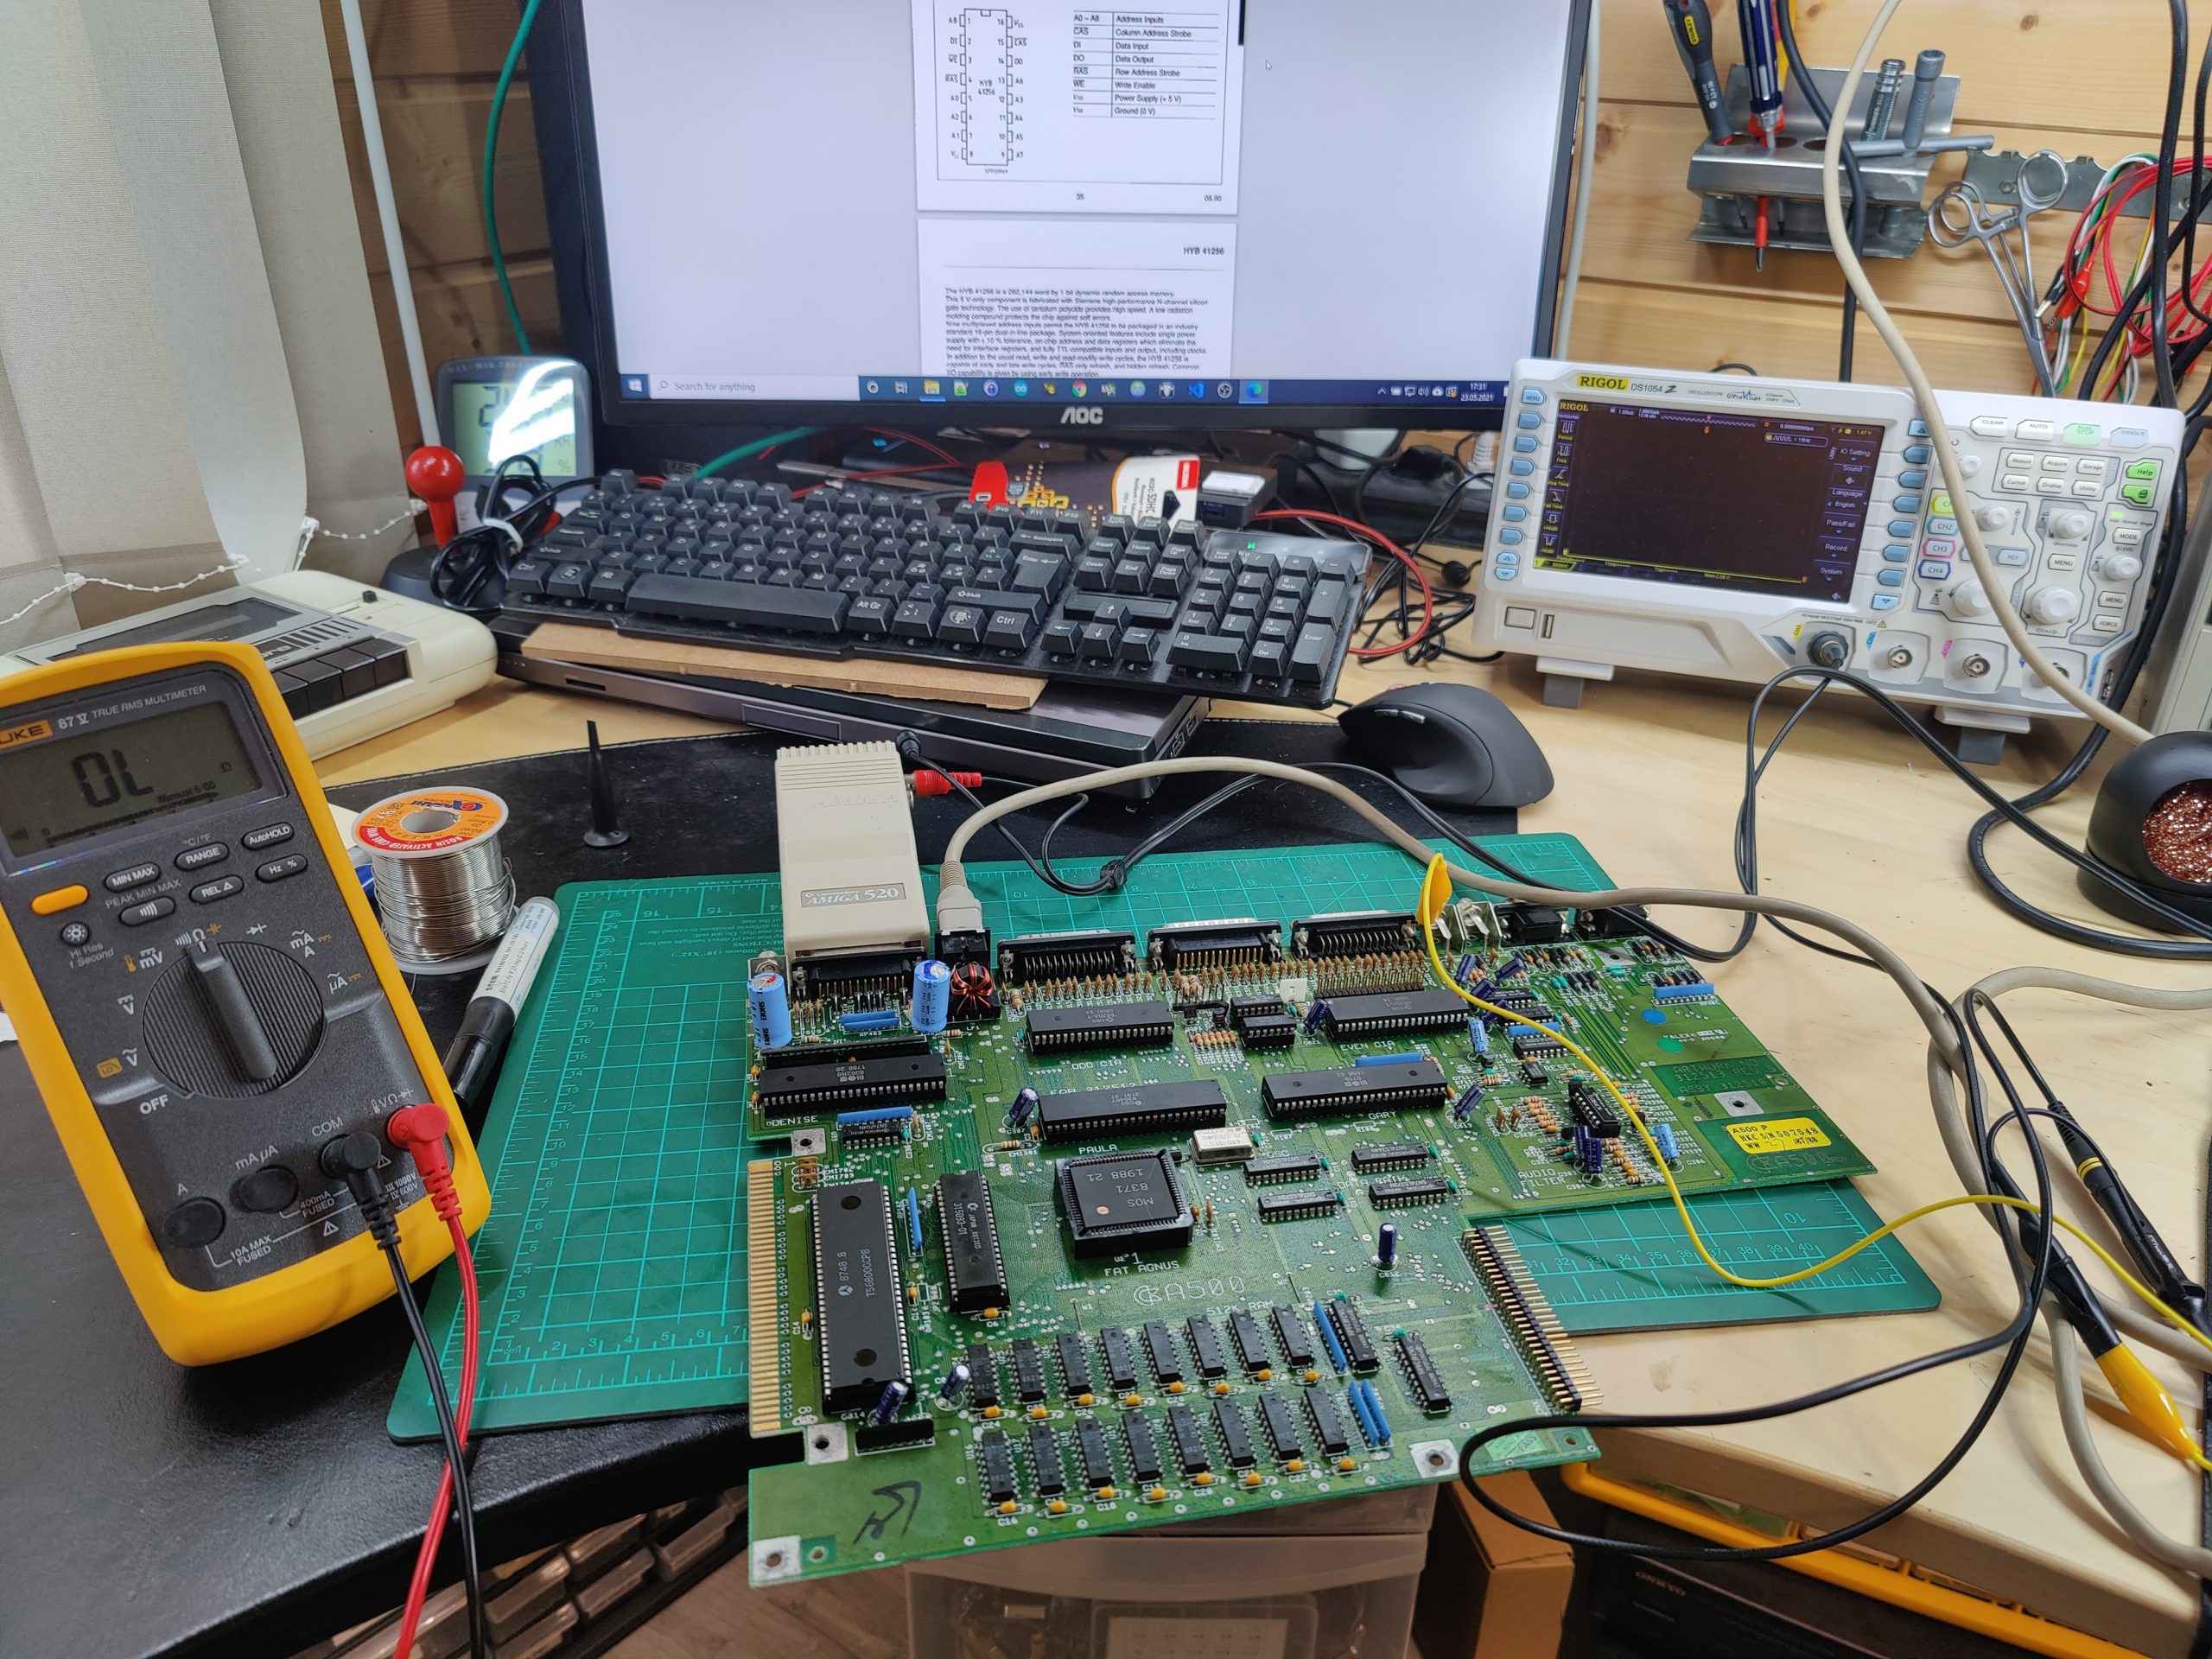
The Amiga 500
Reading through a variety of forums and online resources I came across alot of good troubleshoting info.
First of all a leaky backup battery will cause damage to the PCB and components, so removing this was a good start.
Regular corrosion on the motherboard and on the chip legs is very common. Also the sockets for the different chips could be bad or loose.
Another common issue is the capacitors. Refurbishing an old computer means swapping out all the old capaitors with new ones. These old electrolytic capacitors will eventually start leaking and cause damage.
The Amiga eprom will emit color indications if it has a hardware issue. This nice schema shows what could be wrong:

The oldest Amiga shows a green screen which indicates RAM initalization failure.

A diagnostics EPROM can be installed where the kickstarter sits, and could provide valuable information when troubleshooting. You can also use a 27c400 eprom chip (or 27c800) to burn your own diag or Kickstarter version. Just be aware of the so called “oops” bug on the rev5 boards. This bug is a physical failure in the traces on this board. There are adapter boards available to come around this.
Amiga mods and addons
Like for the C64 I will not be spending my time on bad floppies, so a must have is the Gotek USB floppy disk emulator.
I will be using the Open Source Scan converter for upscaling and minimal latency on this.
Another mod I will have a look at is the good old Amiga sampler (8bit mono)
This used to be an off the shelf item, but is hard to get a hold of these days. But luckily there is an Open source DIY project here https://github.com/echolevel/open-amiga-sampler
Status
Commodore 64 RevB 1983
The C64 from 1983 seems very stable. Waiting for the sd2iec in order to get some games running too 🙂
Amiga 500 R6a 1991
I got the A500 R6a 1991 up and running using the floppy drive from the 1988 rev5. I swapped the two biggest capacitors, 10V, 3300uF AS they were leaky.
Amiga 500 R5 1989
One evening later I got the A500 R5 1989 up and running after thoroughly cleaning the floppy drive. I also re-seated the Kickstarter and cleaned off the board. I desoldered the clock batteri from the memory expansion board.
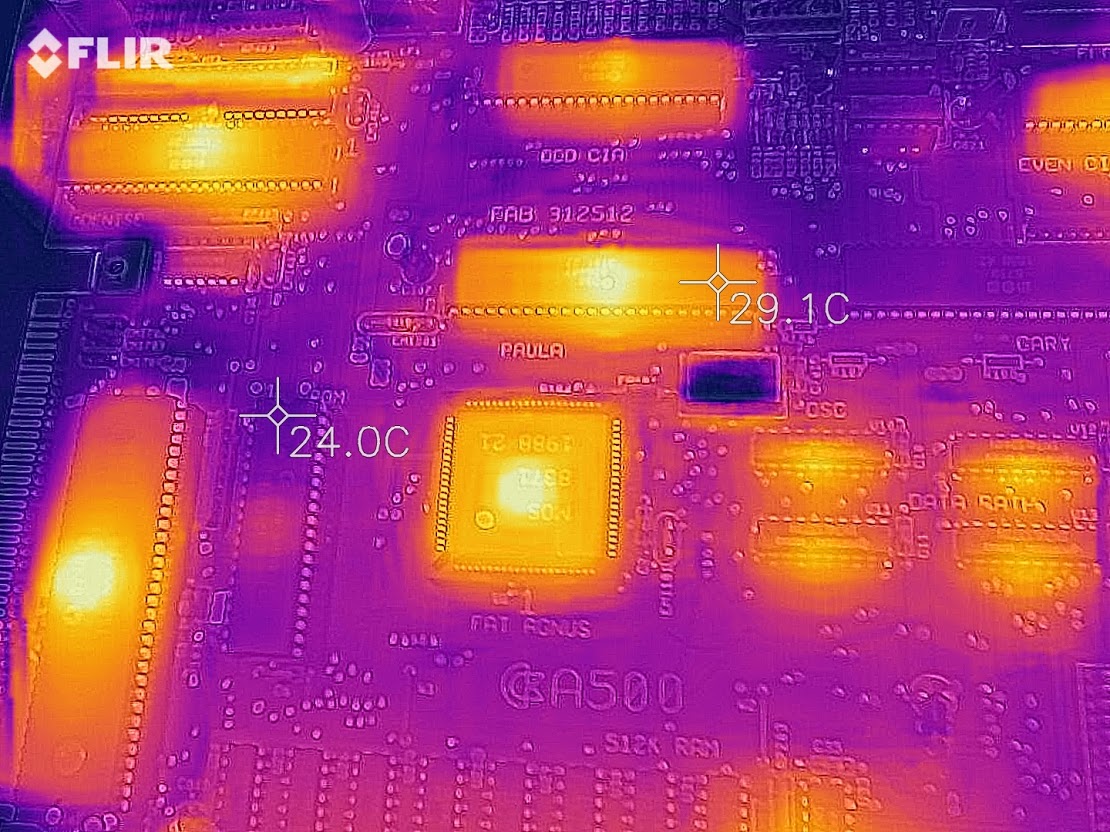
Amiga 500 R5 1988
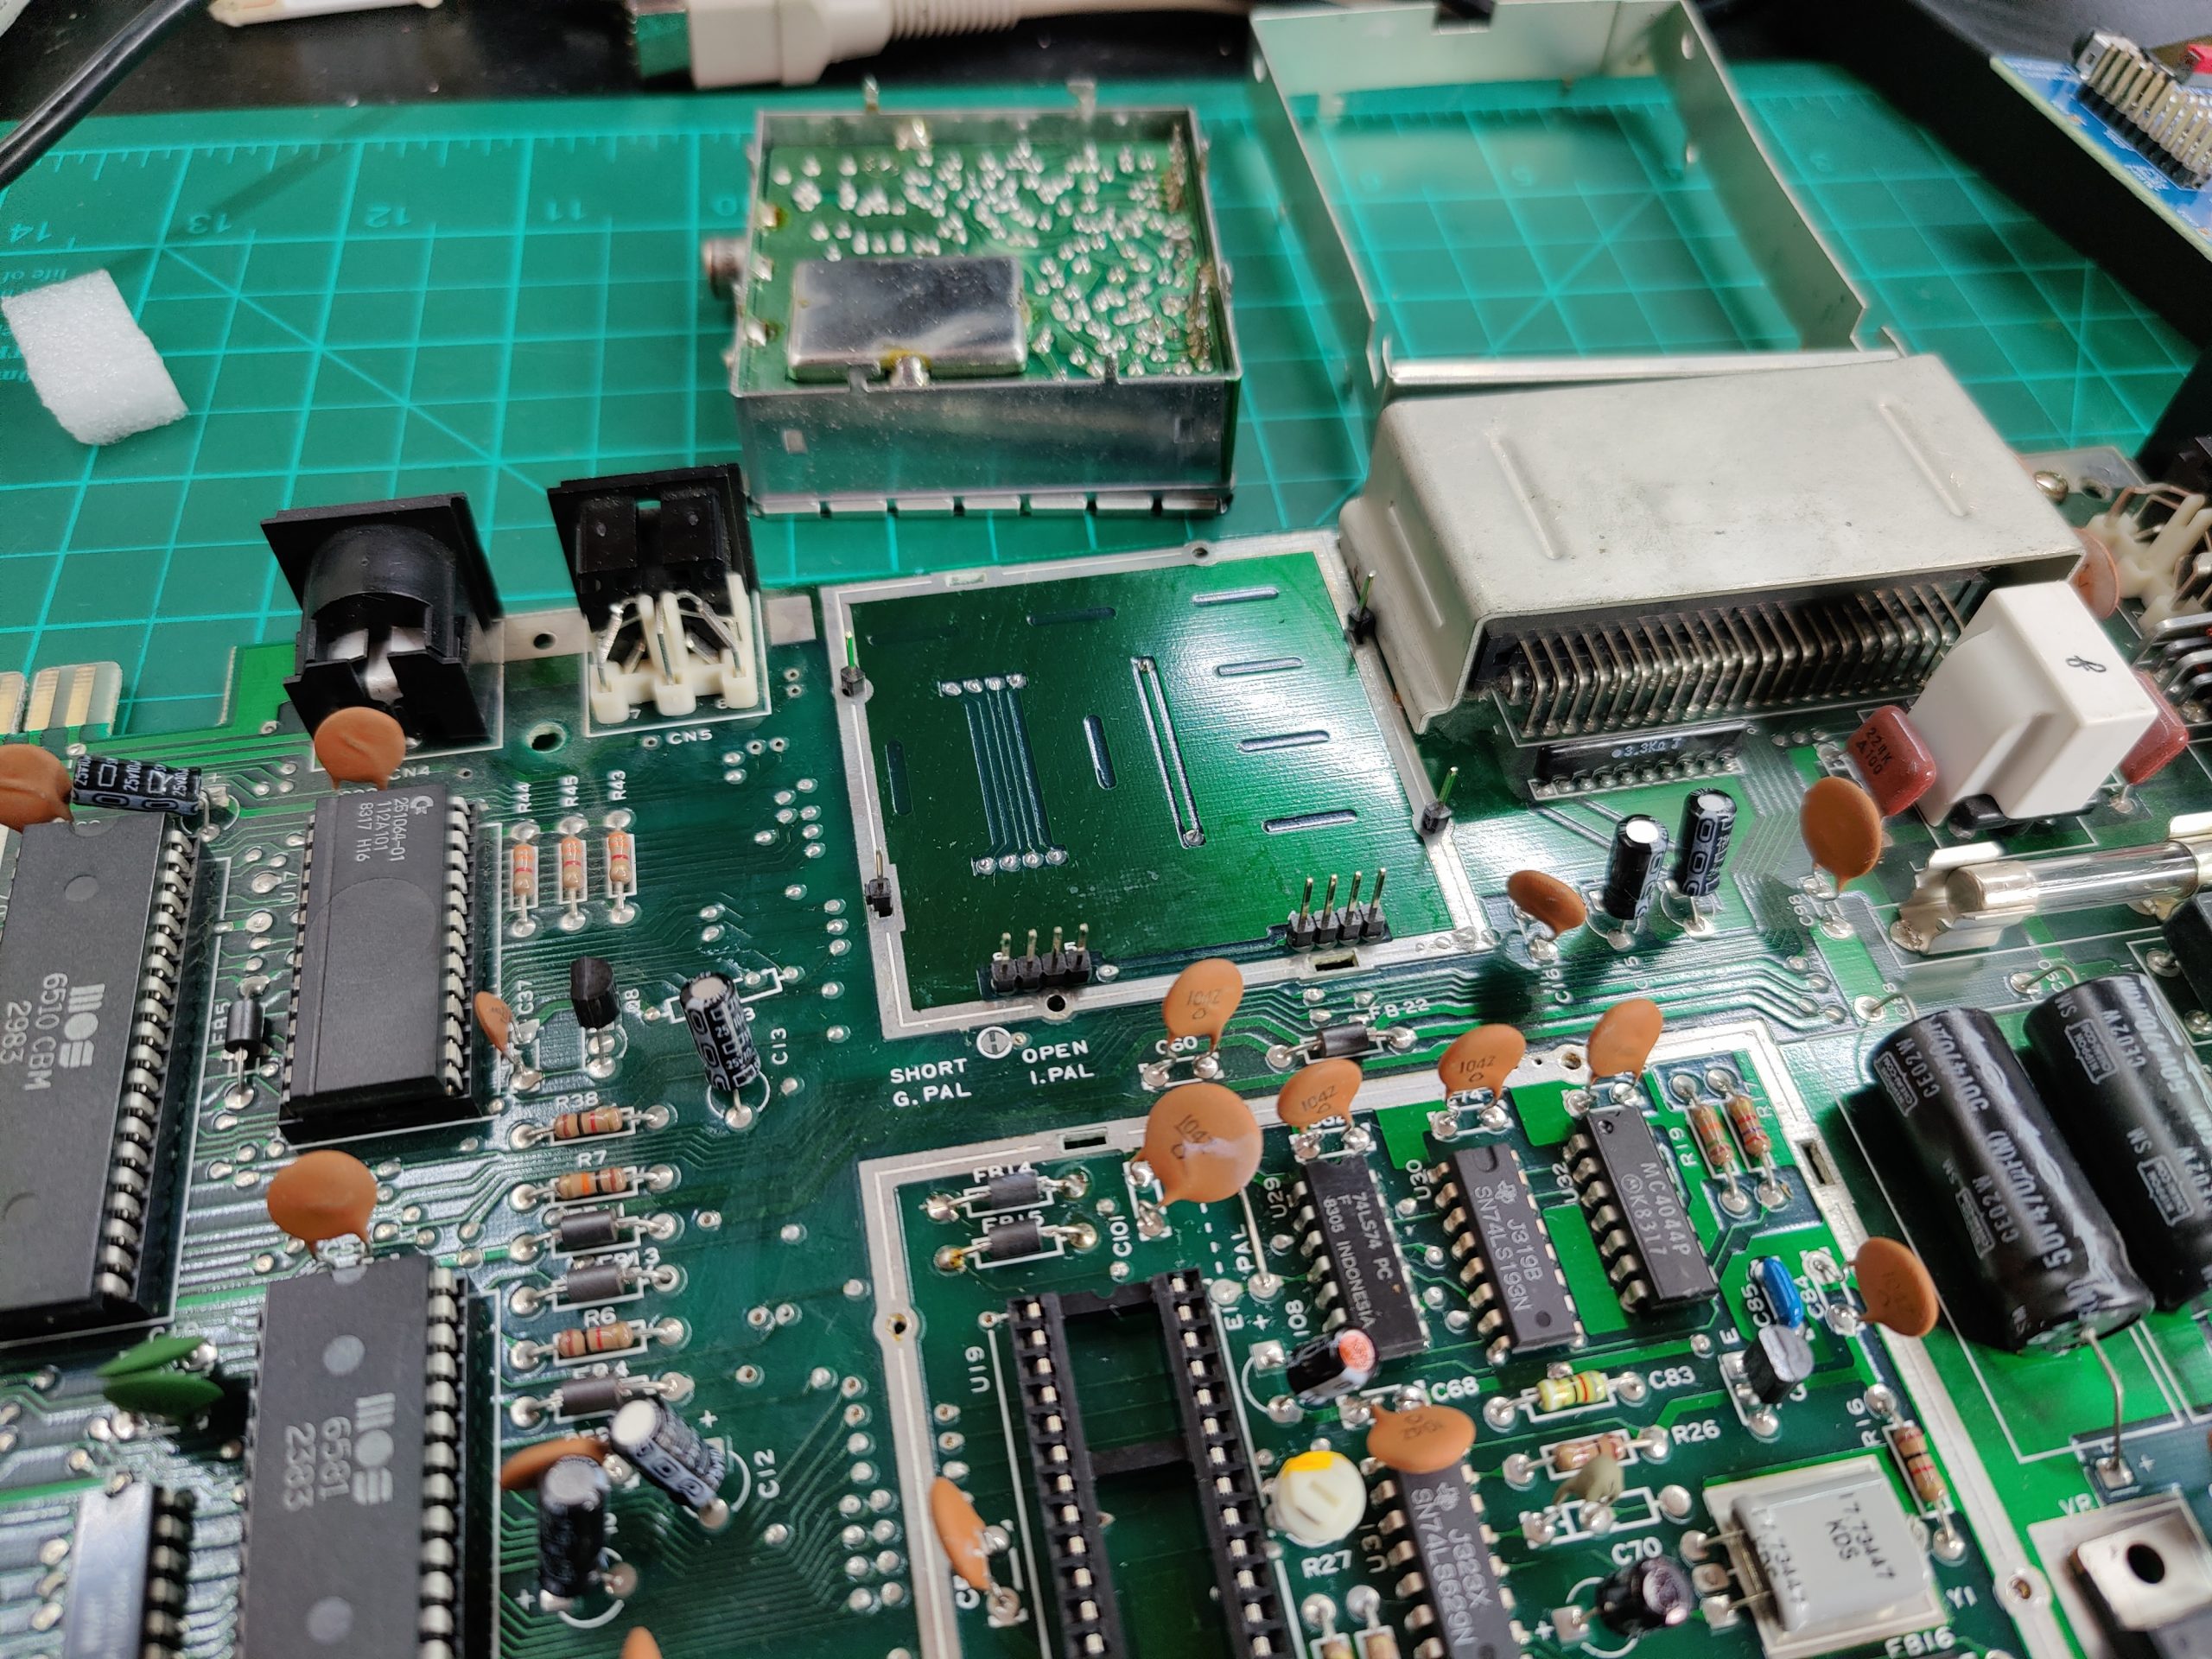
The A500R5 1988 has still got some RAM issues. I’ve un-soldered two 256Kb chip RAM that I suspect faulty, as I was reading noise on the data out pins. I’ve soldered on some 16pin sockets and waiting some new 41256C-10 chips to arrive.
It turned out that the issue was not the RAM itself but one of the four SN47LS244N chips that can be seen in the pic. underneath. This is in the “Data path” area and the chip’s purpose is a buffer for the memory line.
Swapped this one LS244N and boot problems were gone- all hunky dory! -allmost.
I also notice some bad contact on the Mitsumi keyboard possibly due to corrotion on the deck.
The keycaps and chassis turn yelllow over time because of UV exposure to the bromium thats in the plastic. This is a common polymer-oxidation process. The intention of the bromium back in the days was fire prevention. I have tried “retro-bleaching” the keycaps with hydrogenperoxide. They turned white allright, but I think they also became alot looser fit, so they fall off much easier. Unless you’re a pro on retro-bleaching, be careful with this or the result may not be what you want.

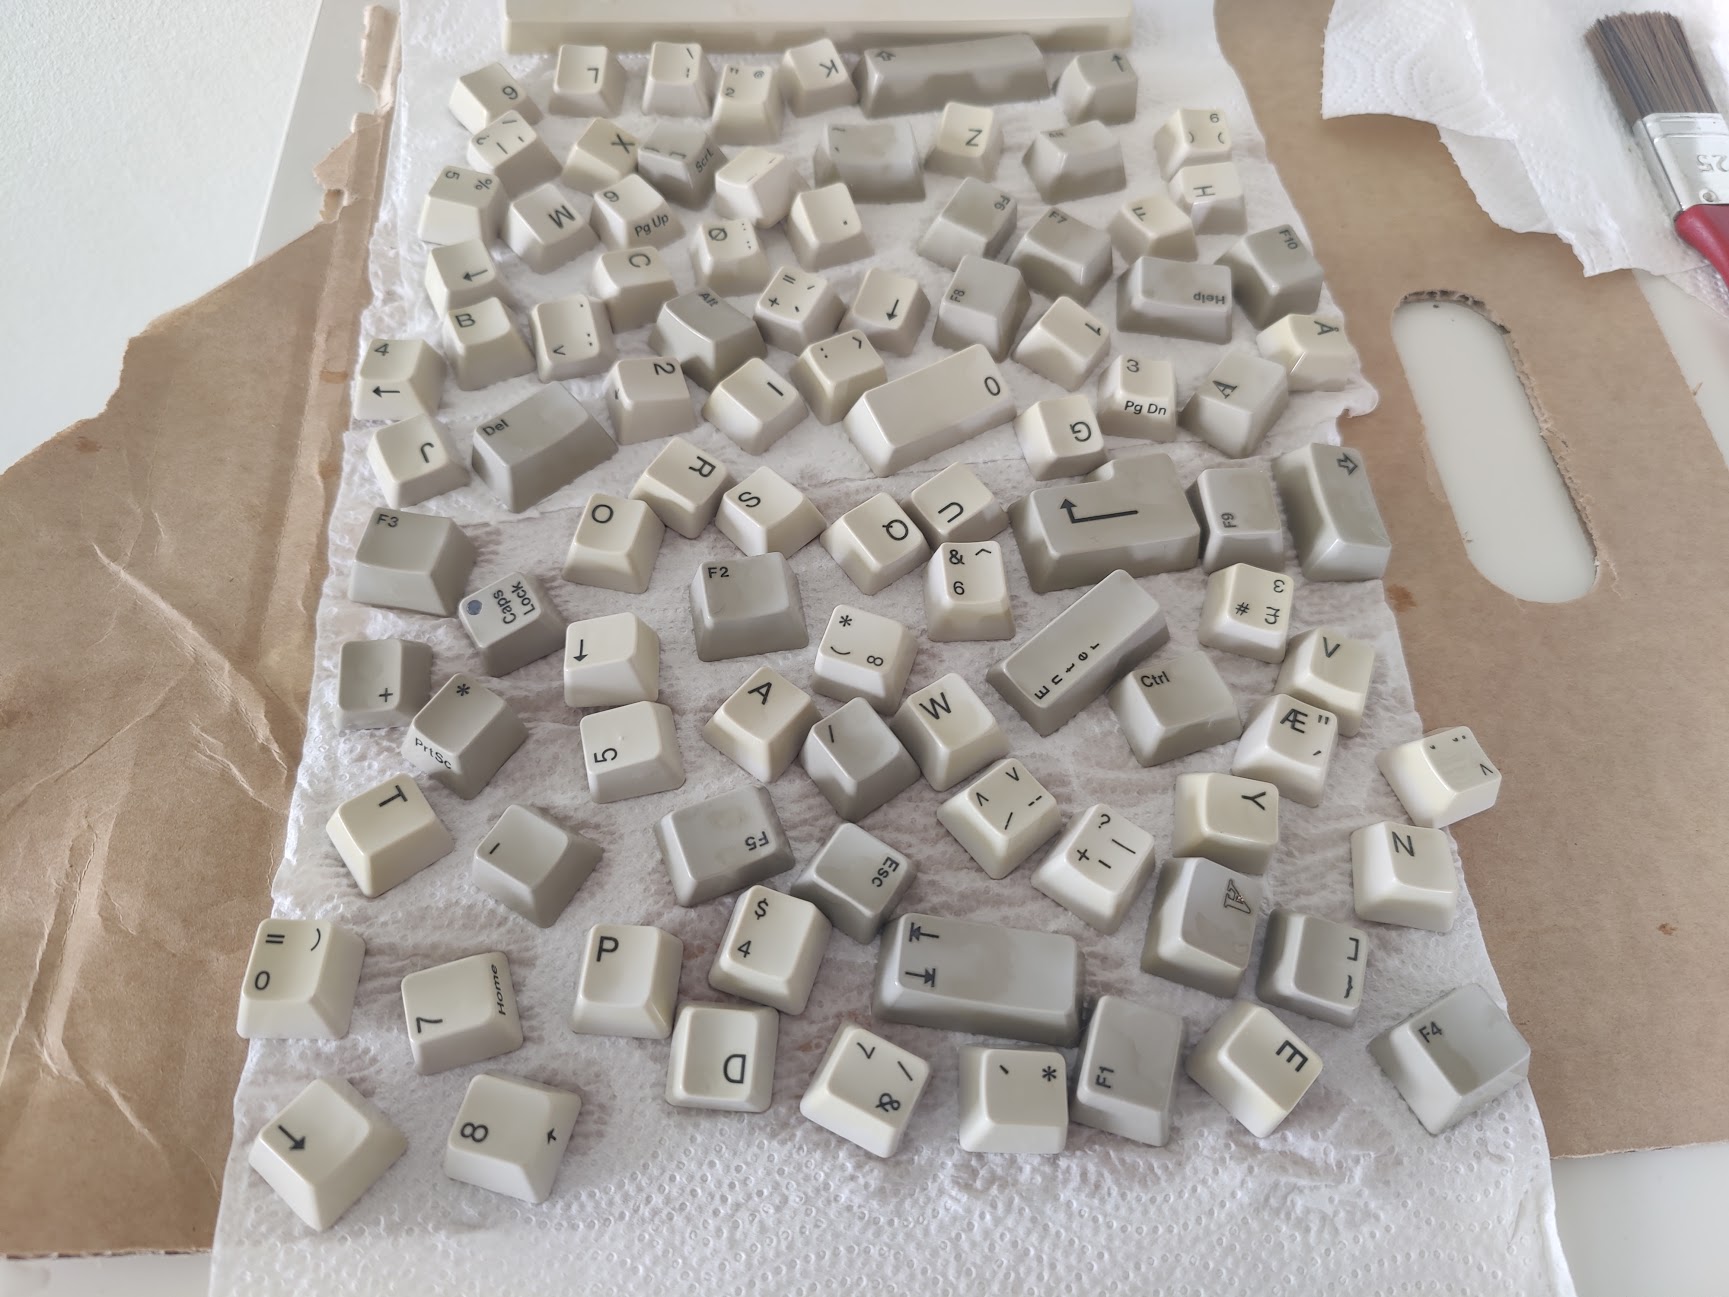

Some of the keycap plungers – the plastic part that pushes the conductive rubber band down, broke. Luckily I found these designs on Thingiverse so I 3D printed some new ones.
https://www.thingiverse.com/thing:4769894
https://www.thingiverse.com/thing:3910131
What I like about this endeavour of mine is the fact that the motherboards are relatively simple being two sided throug-hole. And the fact that the components are not too small makes it serviceable even without being an electronics specialist.
Also there is alot of information, service manuals and datasheets available online nicely archived by the many Commodore enthusiasts out there. Not to mention the nostalgia it brings to memory when booting up, smelly and noisy:)

